Howl’s Moving Castle
I’ve been wanting to tackle Studio Ghibli and Hayao Miyazaki for a long while, and luckily my fave in the collection– Howl’s Moving Castle– is a bit simpler culinarily speaking its companions. Don’t worry, I’ll get to Spirited Away eventually.
Based on a fantasy novel written by Welsh author Diana Wynne Jones, Howl’s Moving Castle follows a mousey young woman named Sophie, who lives a boring life as a hatmaker in a European-esque city. Enter the handsome wizard Howl, who first saves Sophie, then gets her into a huge pickle by just associating with her (just like a man)– poor Sophie is turned into an old woman by a jealous witch, and is forced to seek out Howl without being able to tell him who she is. Luckily, his castle (like his ego) is huge and hard to miss, and Sophie passes herself off as his new cleaning lady. Of course, she falls in love with the guy (even though she’s WAY too good for him), and has to save Howl more than once while navigating her own curse and OH YAH a world ravaged by a pointless war.
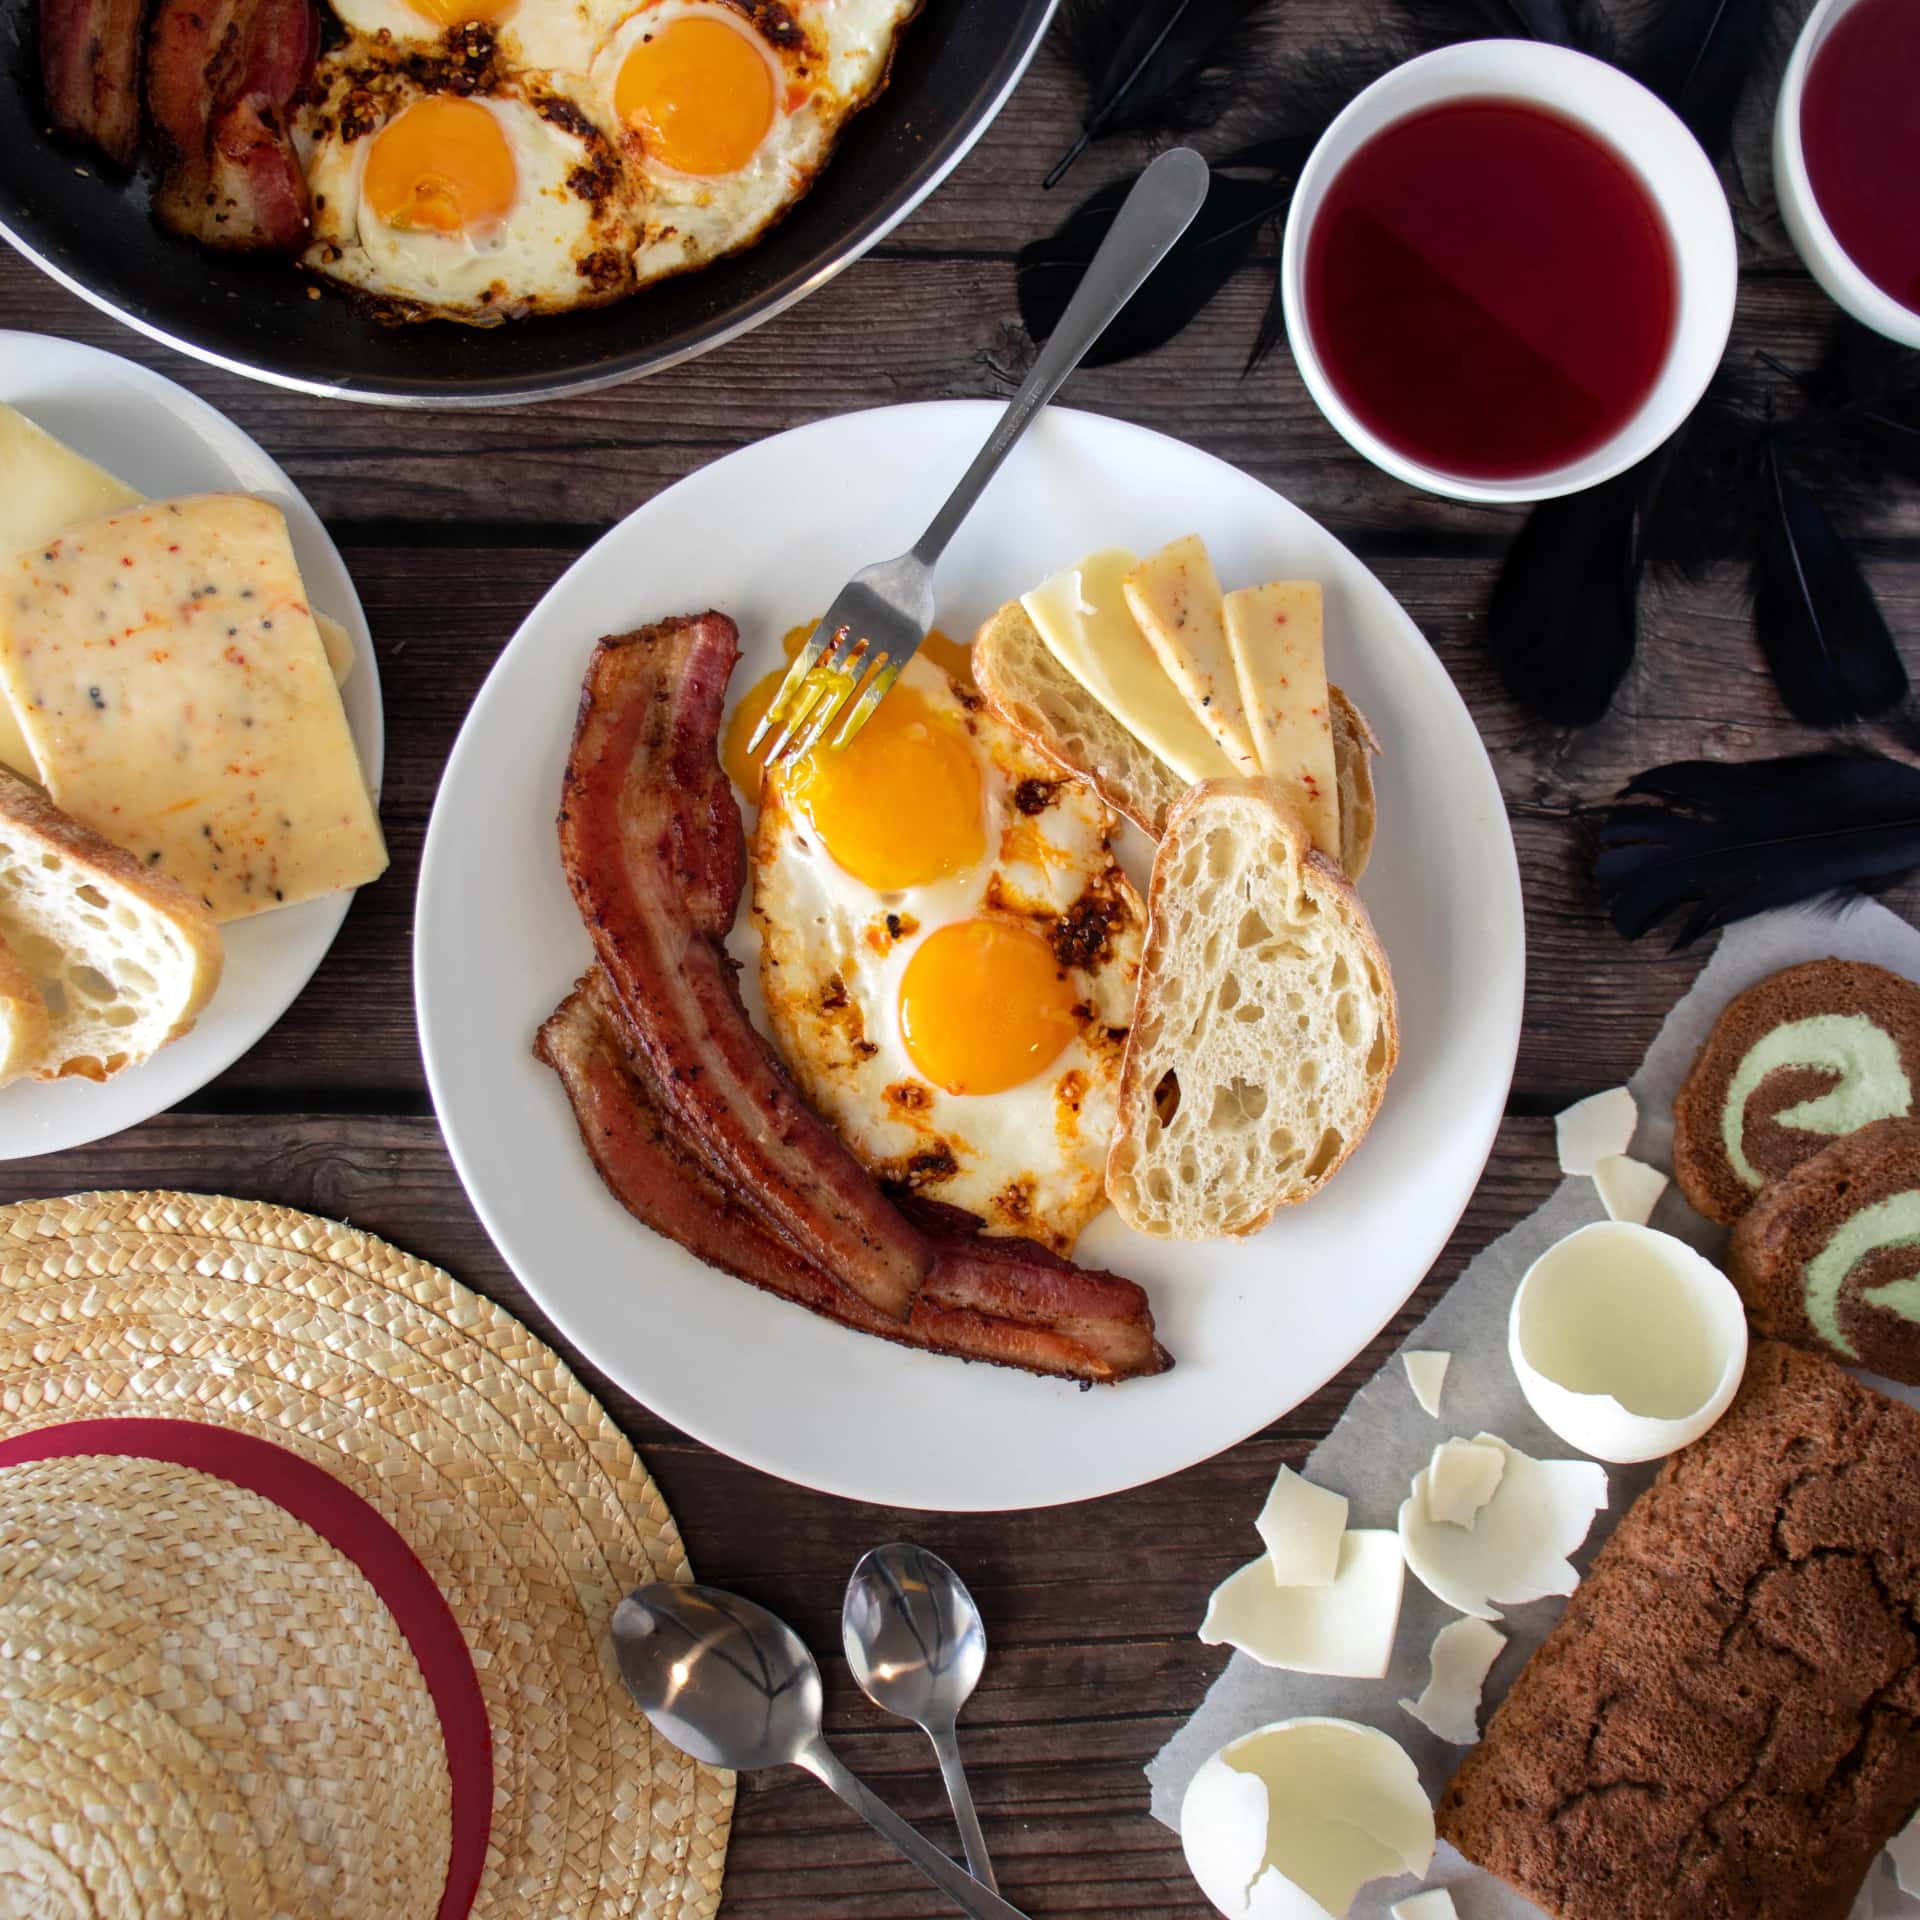
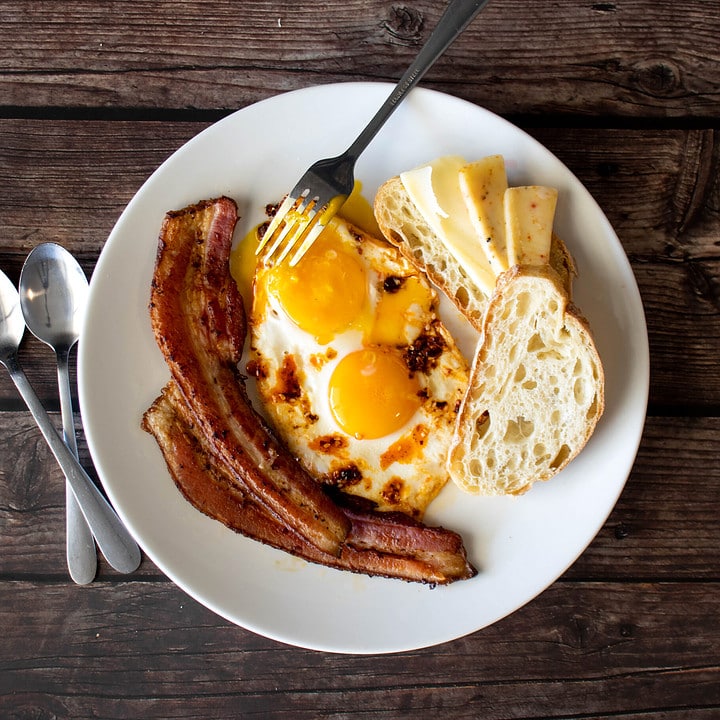
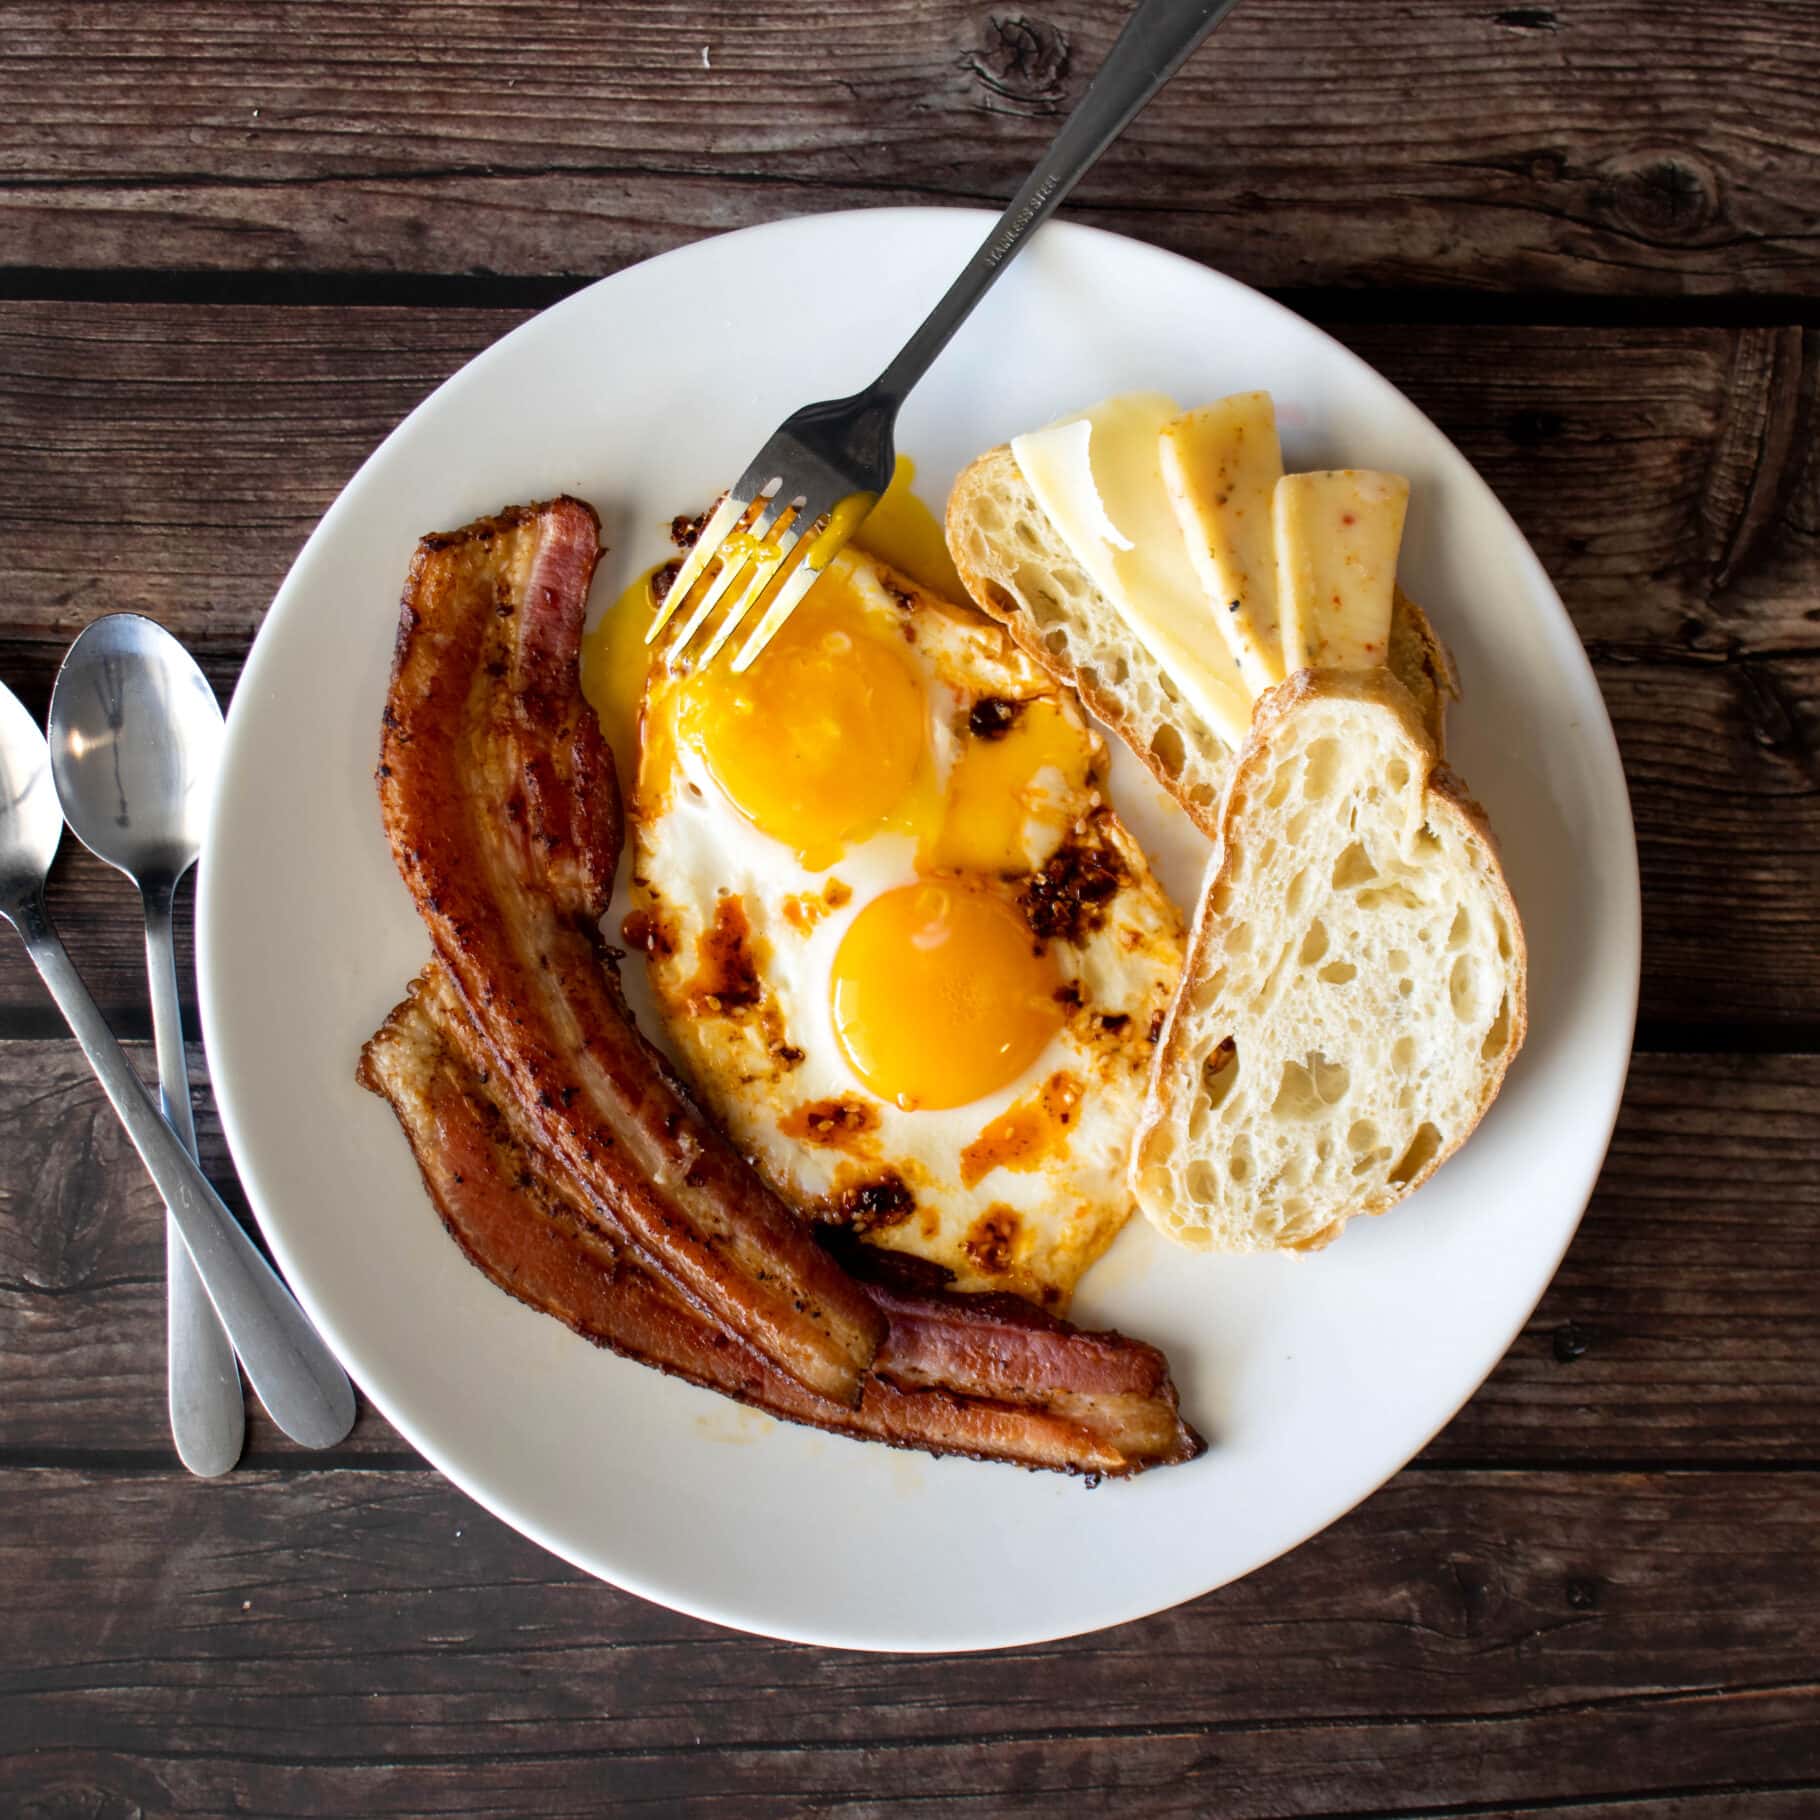
Thematically complex and beautifully animated, Howl’s Moving Castle is a solid Ghibli bet even if you opt for the English dub over the original Japanese— the latter of which features Christian Bale as Howl, Emily Mortimer as Sophie, and Billy Crystal as the wisecracking fire spirit who powers the moving castle. Food scenes in the movie are not what you would call plentiful, but there is one in particular that stands out as a pivotal moment for Howl and his little family:

Eggs and bakey rarely looked so good. And it’s an animated friggin’ meal!
Thus, a breakfast movie menu inspired by Howl’s Moving Castle– with a few Japanese flourishes to pay homage to the creator studio. Don’t worry, turnips are not included. What do you think I am, a monster?
All right Calcifer, let’s get cooking!
The Movie

The Menu
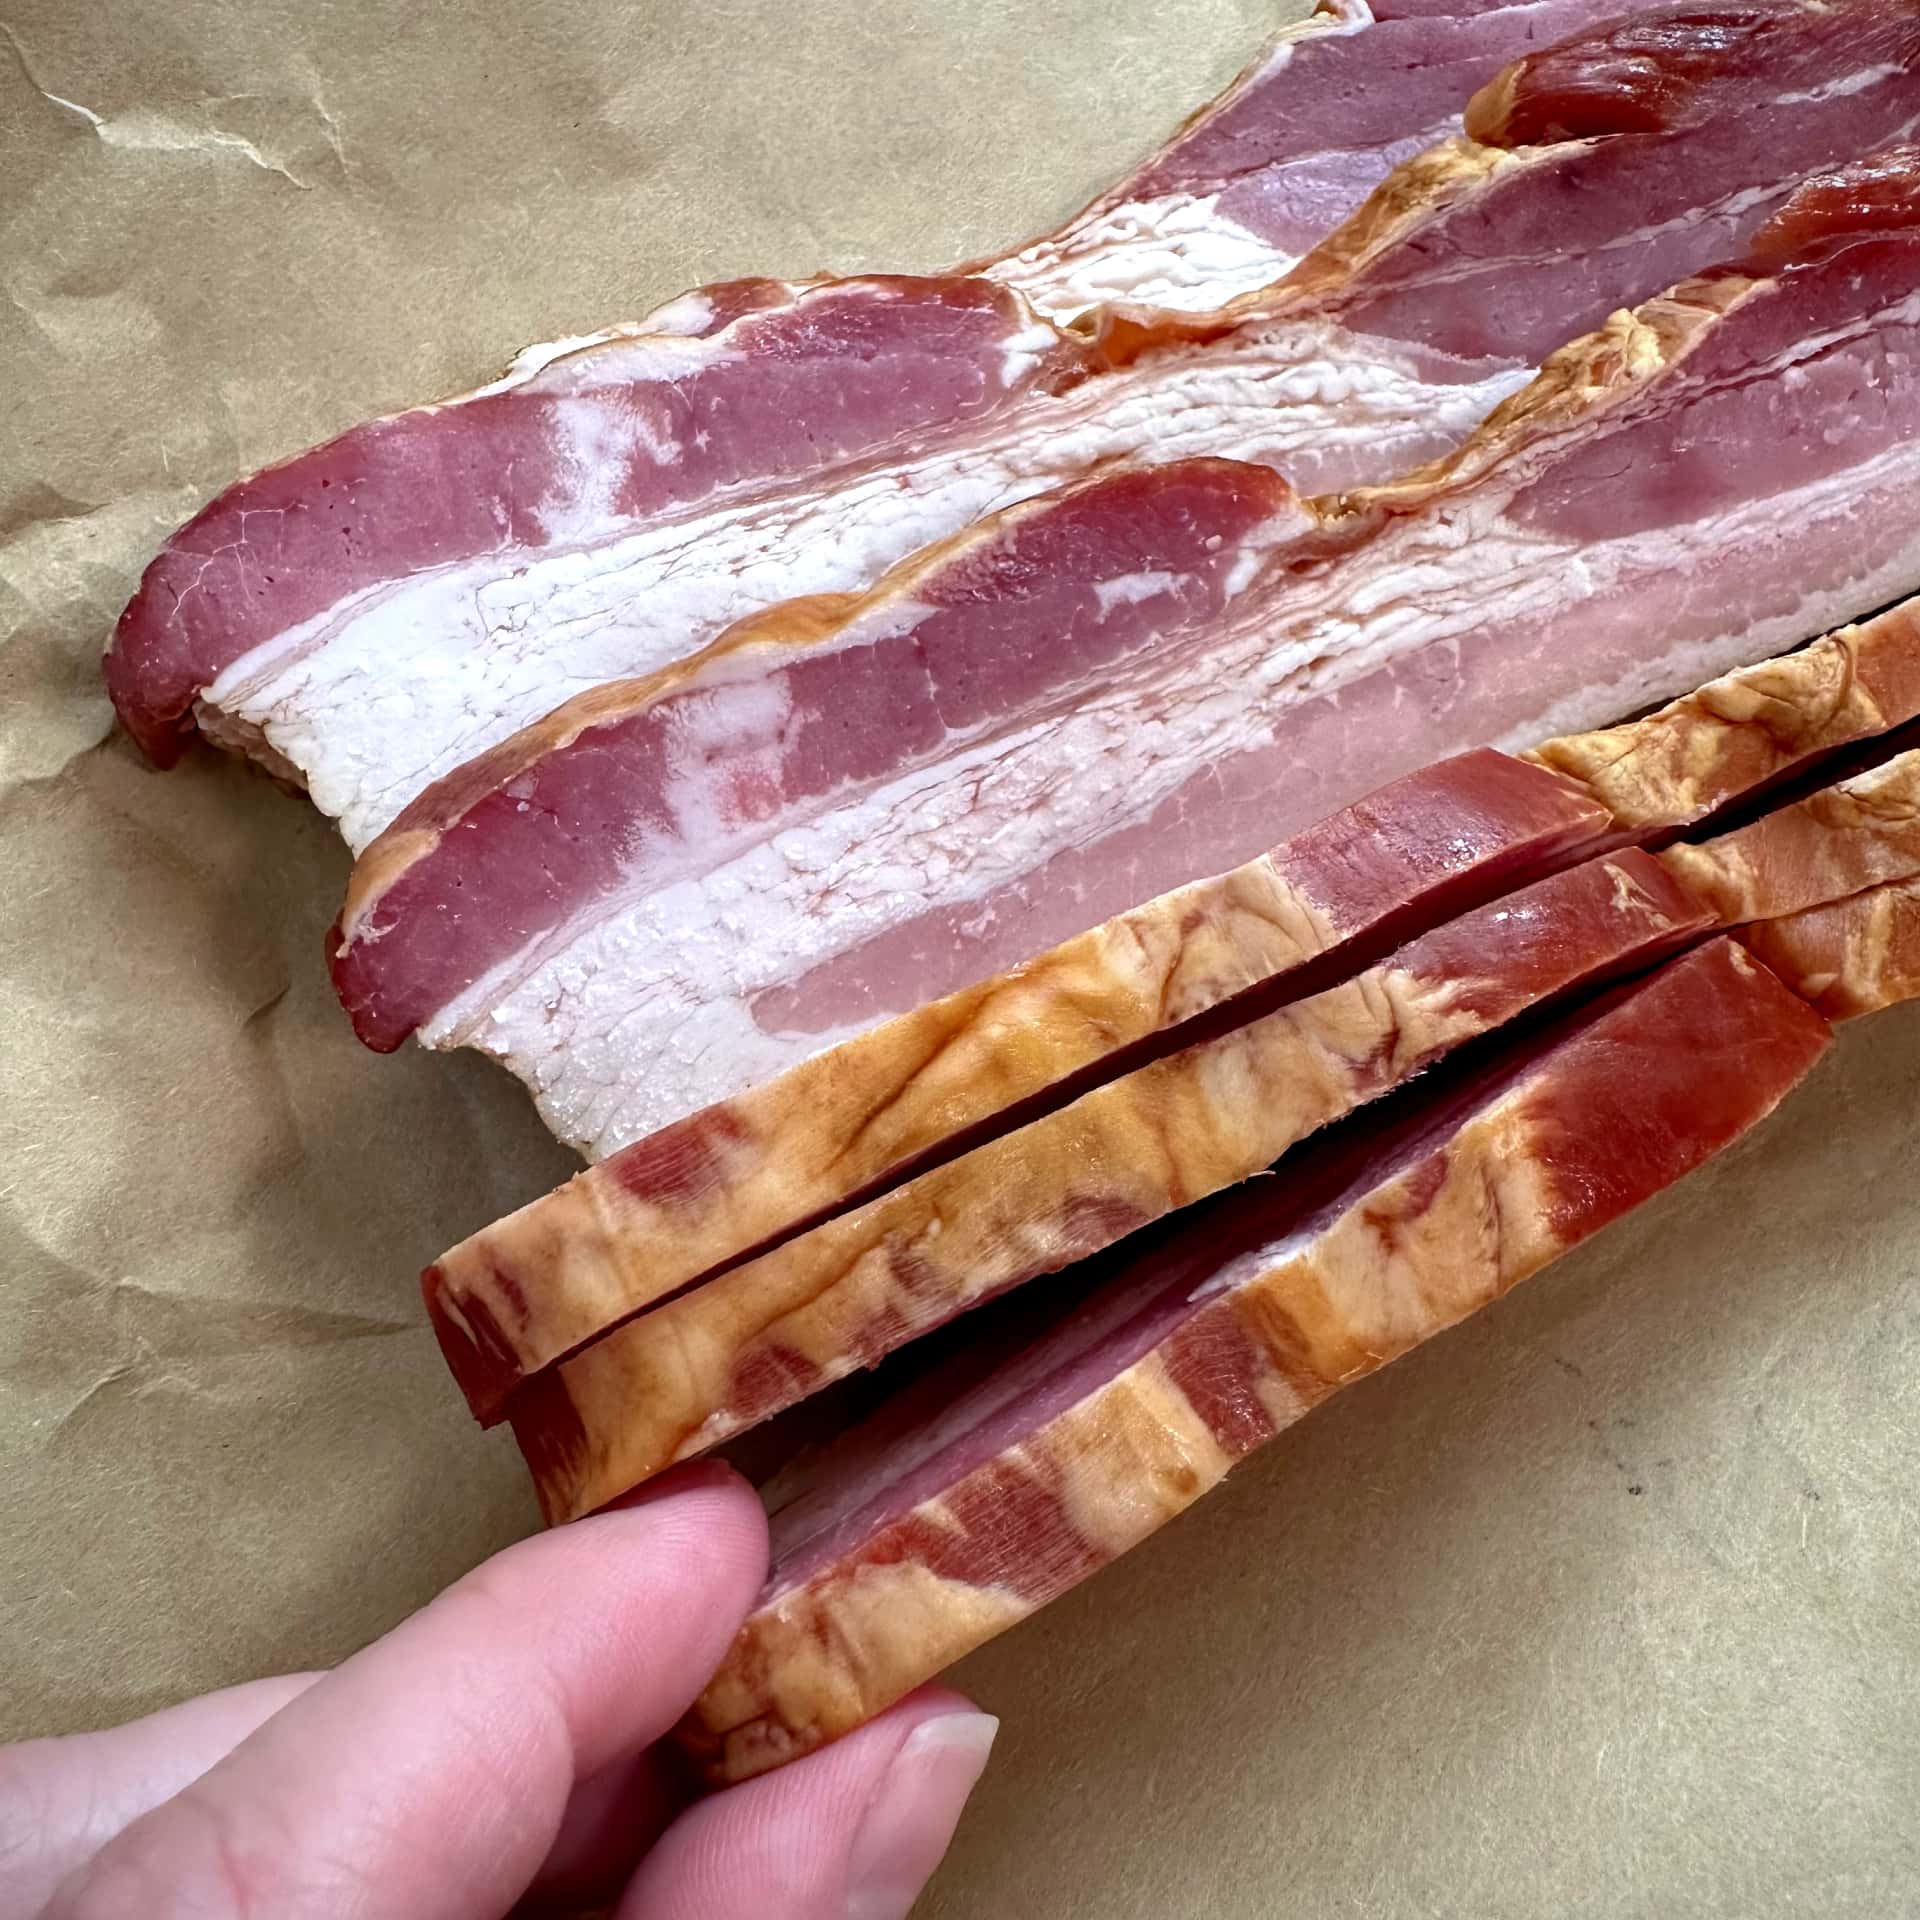
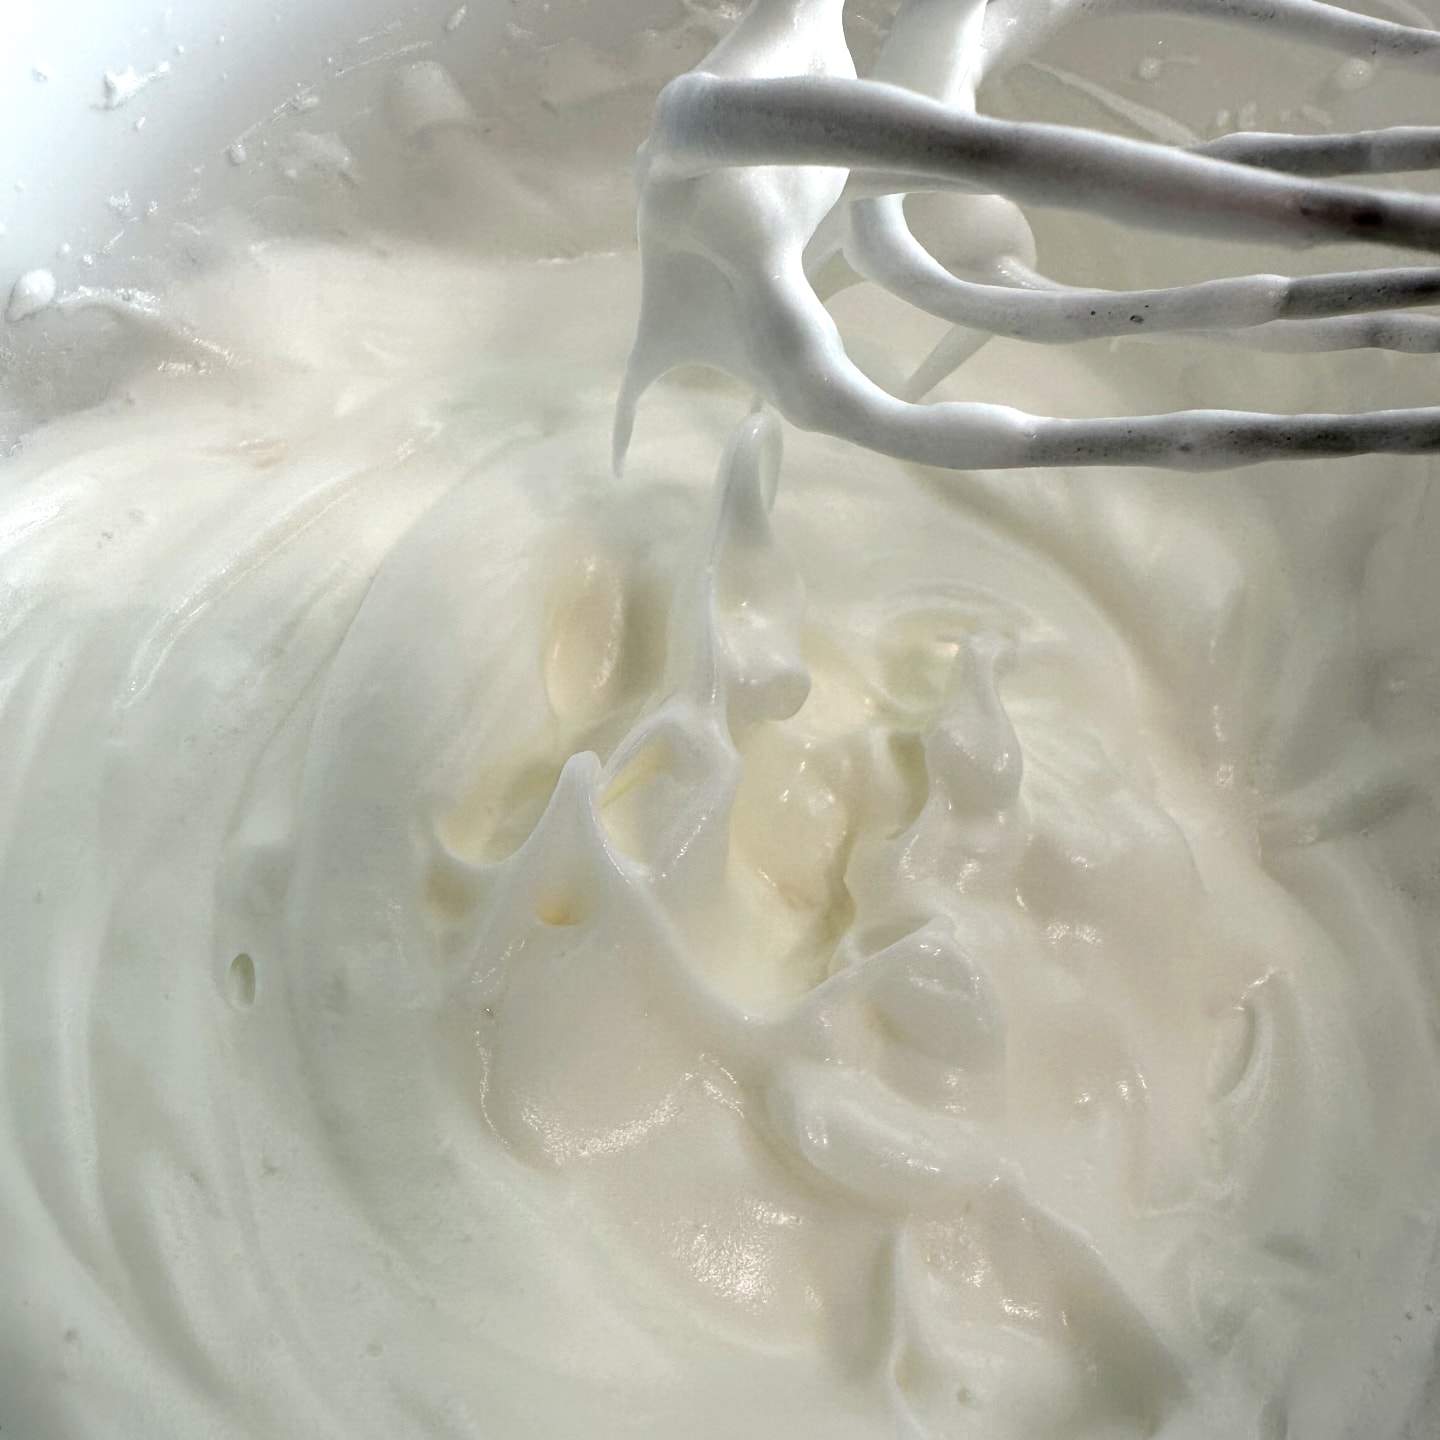
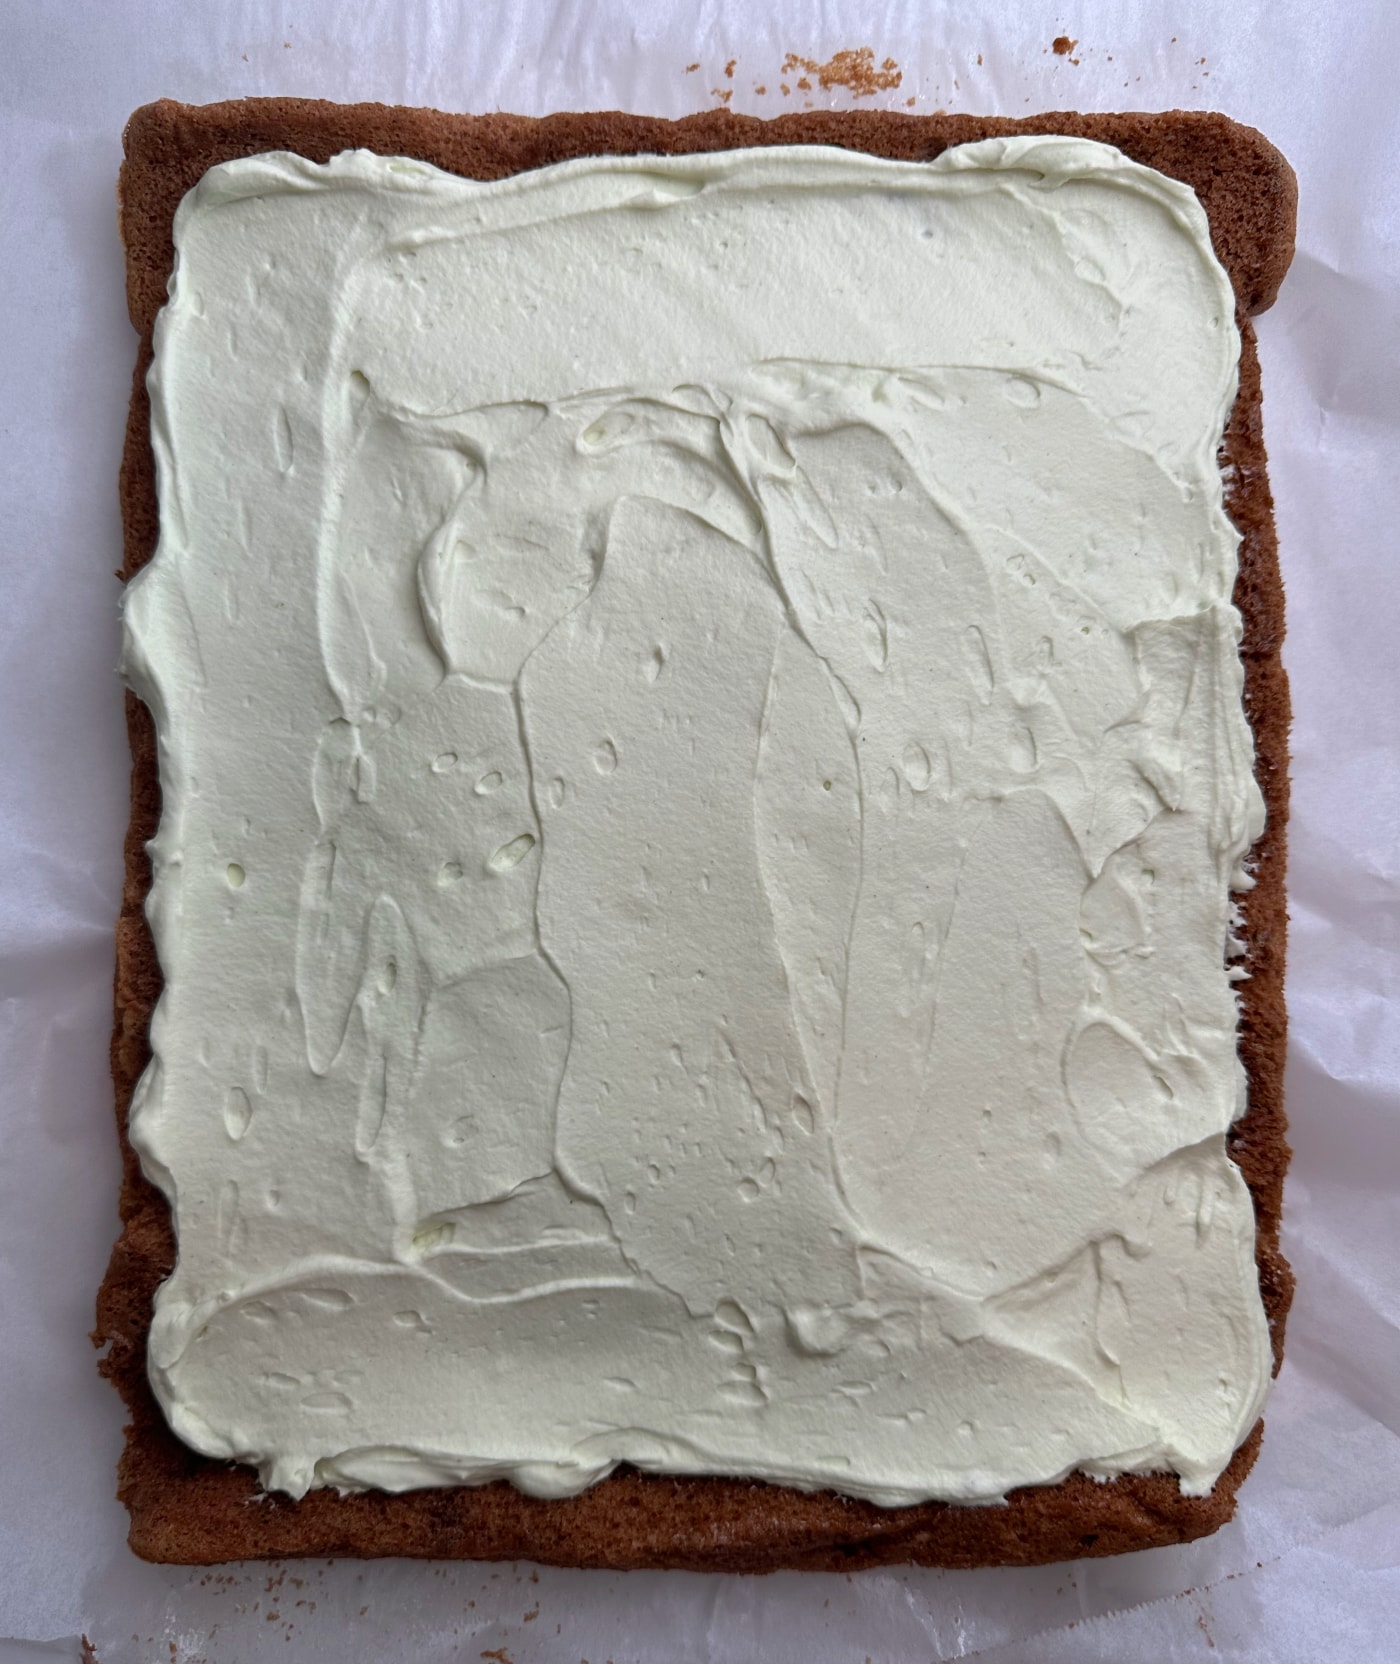
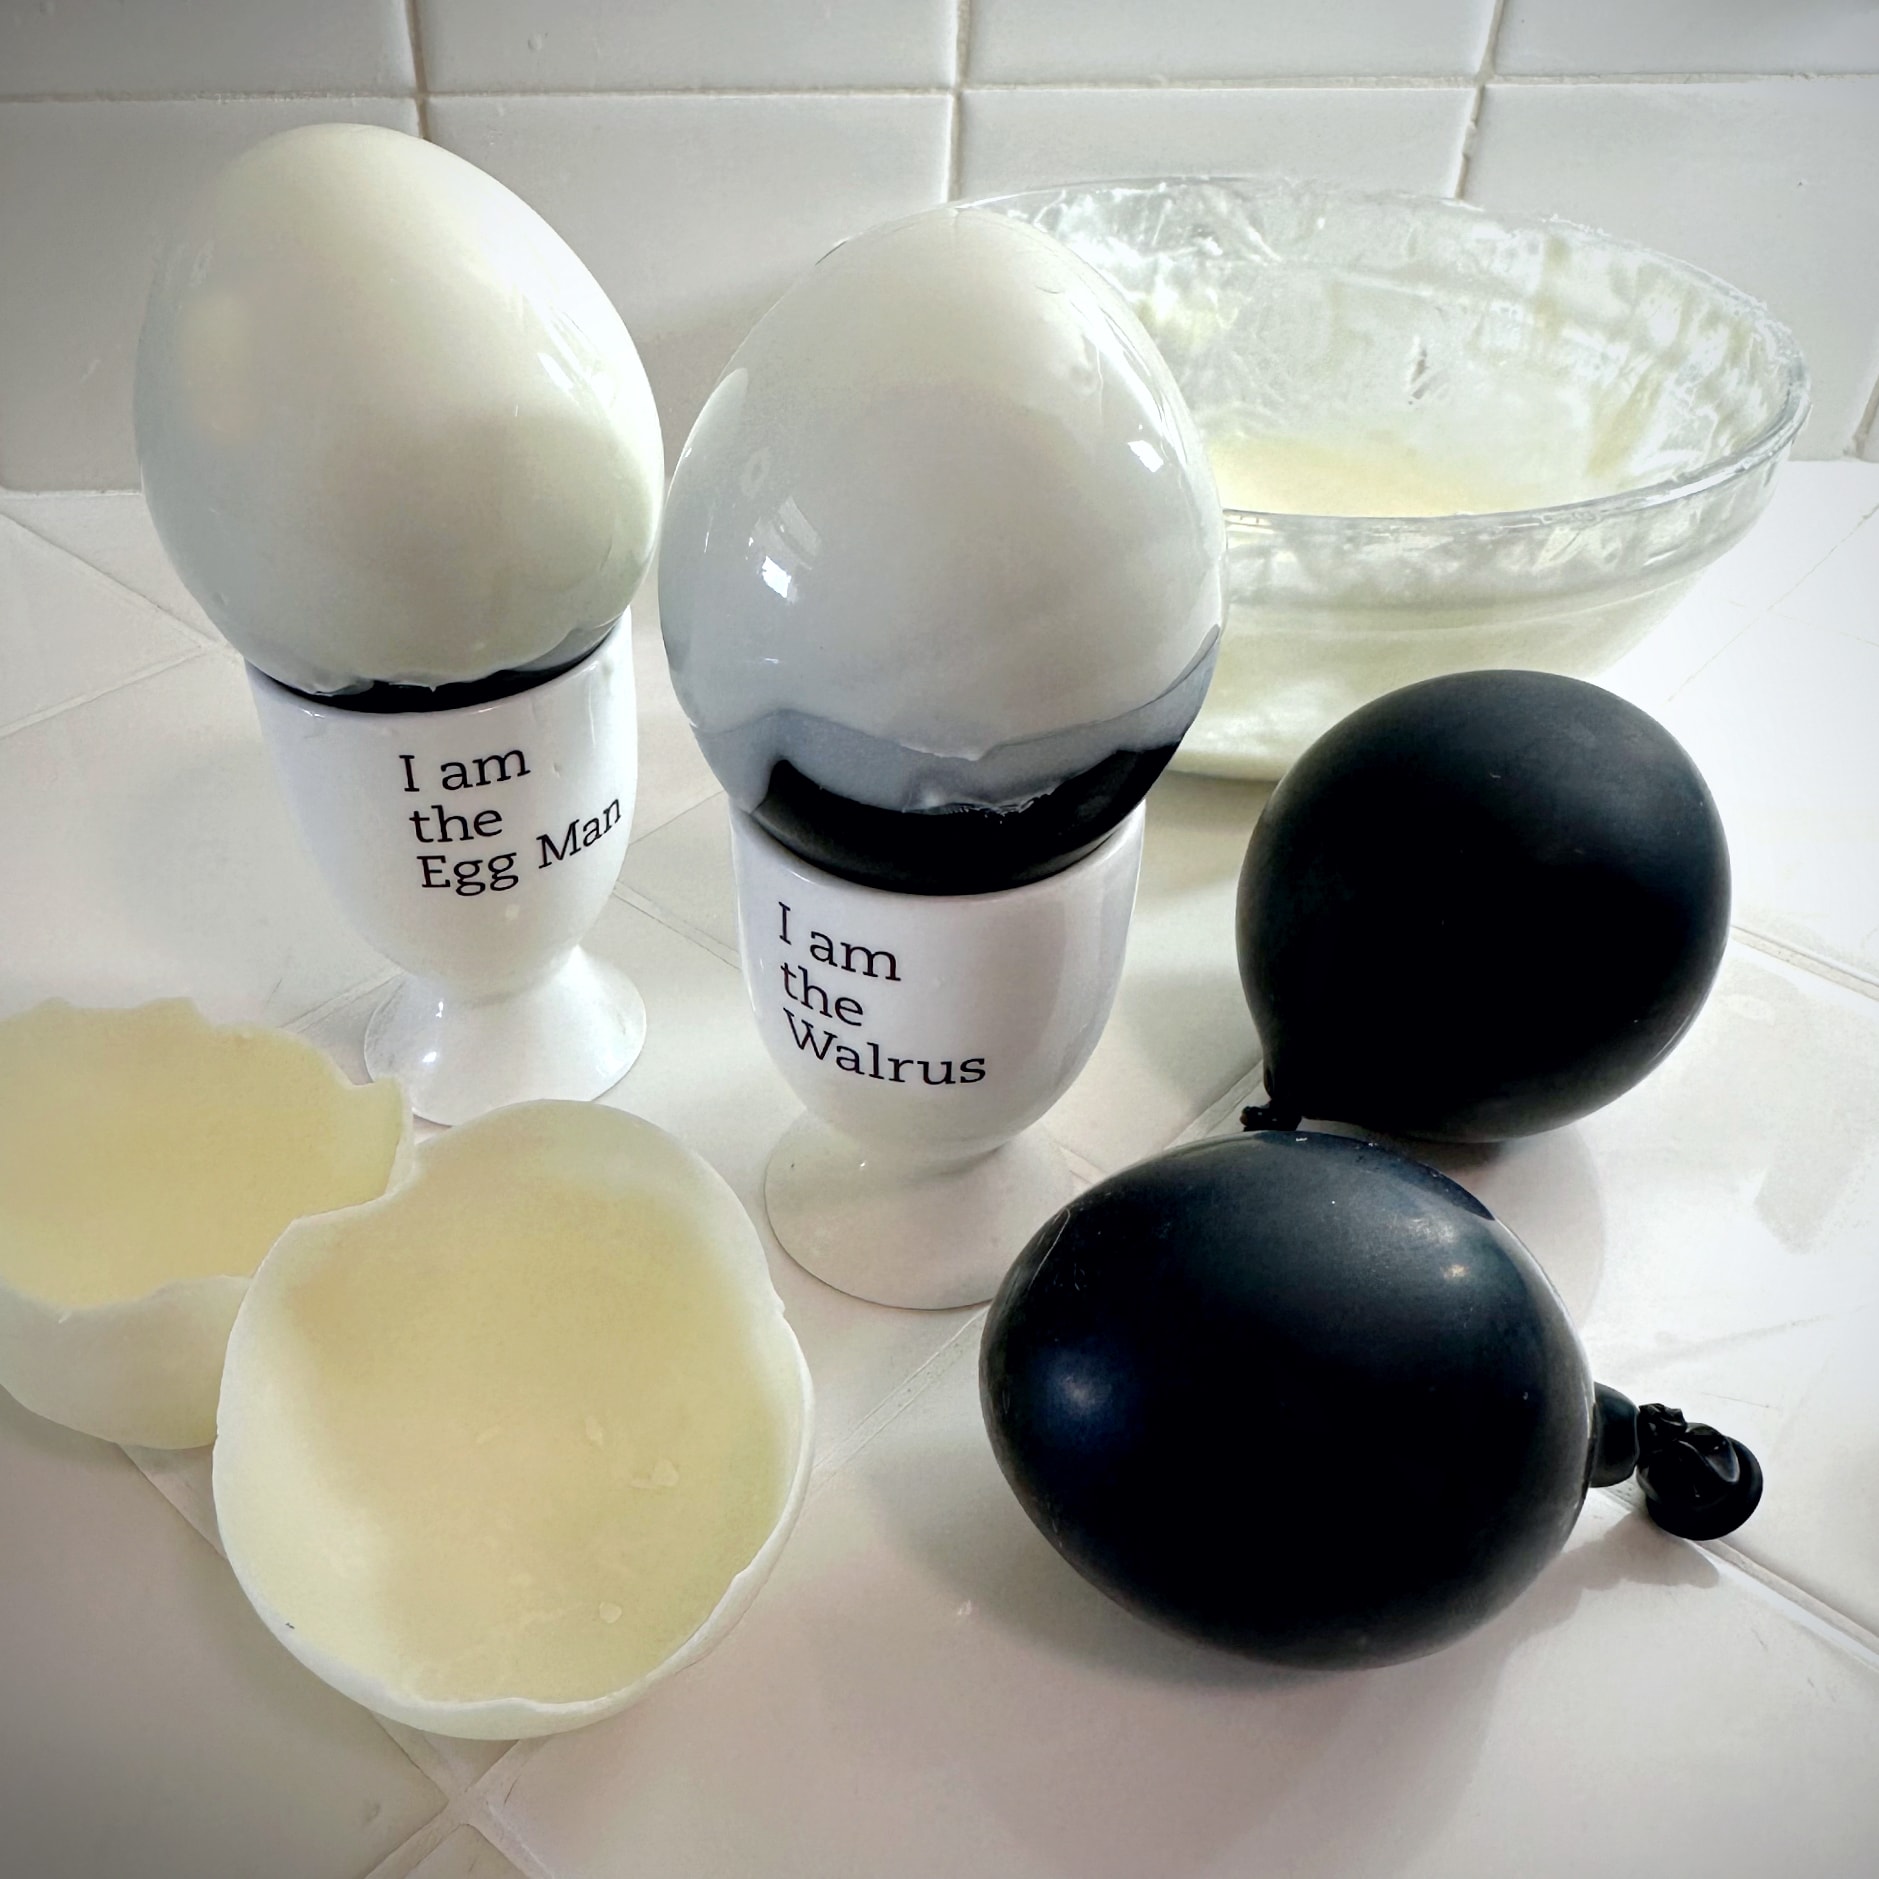
For the flower loving hat shop proprietess with a big heart to steal-- piping hot hibiscus tea. If you need to loosen up as much as Sophie does, let your hair down and add a little Japanese whiskey. Bring water to a boil in a small saucepan or teapot. Steep your hibiscus tea with ginger root for 5-7 minutes. Divide into two teacups and add honey and whiskey to taste. A breakfast that leverages all of Sophie's skills with bacon and Howl's expert egg cracking maneuvers + some bread and cheese for the table. And, since this is a Myazaki anime film, I've added some fun Japanese twists that liven up the meal. I won't blame you if you make more bacon than called for. Especially if it's as good as my butcher's. Just lookit how beautiful <3 The key to super crispy bacon (especially when it's this thick) is to start off with a cold pan and cook over a controlled lower medium heat (ie don't let Calcifer get a 'tude). I also use a non-stick skillet because it's easier, but if you prefer a cast iron just make sure you fully wipe away any crispies before you get your egg on. For this meal, you want to cook until almost done, several minutes per side-- drain on paper towels and set aside. Pour out the majority of bacon grease (save in a jar for future frying deliciousness), leaving a thin coating sans any residual bacon crispies (you don't want these to burn beneath your eggs). Place pan back over medium heat. Crack six eggs into the pan , trying to consolidate on one side for aesthetics. Reduce heat to low and cover, peeking every minute or so to monitor setting progress. When almost set (about 2-3 minutes total), remove lid and drizzle your eggs with chili oil. Add bacon back to the pan to rewarm/recrisp for a minute or two more. Divvy up across three plates (I hogged an extra slice of bacon), and serve with crusty bread and cheese. Oh, what a pretty fire-- and apparently a hungry one. All that snark must work up an appetite. So, here's a log-like Japanese roll cake filled with matcha cream and paired with white chocolate "egg shells"-- a slightly more appetizing version of Calcifer's allotted snacks during family breakfast. Line a 9x13 rectangular cake pan with (SURPRISE) aluminum foil. You want it to be crinkly to accomplish a superficial bark like effect on the outside of your cake, so feel free to bunch it thickly in places and/or use more than one sheet of foil. Spray with baking spray and set aside. In a small sauce pan, heat the milk, cocoa powder, and chili powder on medium (do NOT bring to a boil). Stir continuously until cocoa powder clumps are broken up and dissolved-- set aside to cool, and preheat oven to 325. Now for the cake "batter". In a mixing bowl, combine sugar, baking soda, and 1/2 tsp cream of tartar. Sift in cake flour and whisk lightly to incorporate. Add egg yolks, oil, vanilla extract and chocolate milk mixture, stirring to combine. In a separate mixing bowl, beat egg whites with a hand mixer until lighter and frothy. Add remaining 1/4 tsp cream of tartar and continue to beat until the whites become opaque. Start adding sugar a little bit at a time, increasing the speed of your hand mixer until stiff peaks form. Using a rubber cake spatula, gently fold a third of the egg whites into the chocolate mixture, quickly rotating your wrists as you fold-- you just want to lighten up the chocolate mix a bit before adding the rest of your egg whites. Add in the rest of the whites and continue to fold lightly-- DO NOT overmix, you want the batter to be super light. Pour into lined cake pan and smooth evenly with your spatula. Drop the pan onto the counter a few times to make settle any air bubbles in the batter. Bake for roughly 15 minutes until a toothpick comes out clean. When the cake is finished baking, remove from oven and let cool for 5 minutes in the pan. Lay a sheet of parchment paper over a cooling rack, and flip your cake onto the parchment paper. Gently peel away the aluminum foil on the other side-- totally fine if the surface is craggy, we're going for a loglike effect! Now, place another sheet of parchment paper over the craggy surface of the cake and flip once more. Remove the first piece of parchment paper and roll your cake from the narrower end, incorporating the bottom piece of paper into the roll itself-- this will prevent the cake from sticking to itself. Note, it's VERY important to roll the cake before it cools completely to prevent the cake from cracking. Let your wrapped cake cool on the counter while you move onto your matcha whipped cream. Using a hand beater, whip cream, matcha, sugar, and cornstarch until stiff peaks form (a couple of minutes should do the trick). Refrigerate until cake has come to room temp. Unroll the cake and quickly spread your whipped cream evenly over the surface. Then, re-roll the cake with a light touch to avoid the cream squeezing out from the sides, and then use the parchment paper to wrap around your log to help maintain its shape. Refrigerate until ready to serve (cake will keep in the fridge for a couple of days if need be). While your cake is chiling, tackle your white chocolate "egg shells"! Very important PSA-- do not use regular white chocolate, which tends to get gloopy and separate. You HAVE to invest in melting chocolate. Blow up mini balloons to egg size-- rinse them lightly and coat with a very thin layer of vegetable oil. Next, microwave your melting chocolate in a glass bowl for a minute, pausing at 30 seconds to stir. Allow to come to room temperature, stirring frequently to maintain liquidy texture-- if you don't allow your chocolate to cool a bit, your balloons will pop when you dip them (and trust me when I say the mess is extreme). Tilt your bowl and dip your balloons a little more than halfway into your chocolate, swirling to coat. Allow any excess chocolate to drip away, and (assuming you have them) use egg holders to allow your balloons to set. Repeat with a second coat. Once completely set, you should be able to pop your balloons and peel away the balloon skin from the insides of your "shell"-- totally fine if bits of the edges chip away, makes it look a bit more authentic. When you're ready to eat, slice the ends off of your cake for a cleaner look, then slice into rounds. Serve with white chocolate egg shells whole and crumbled.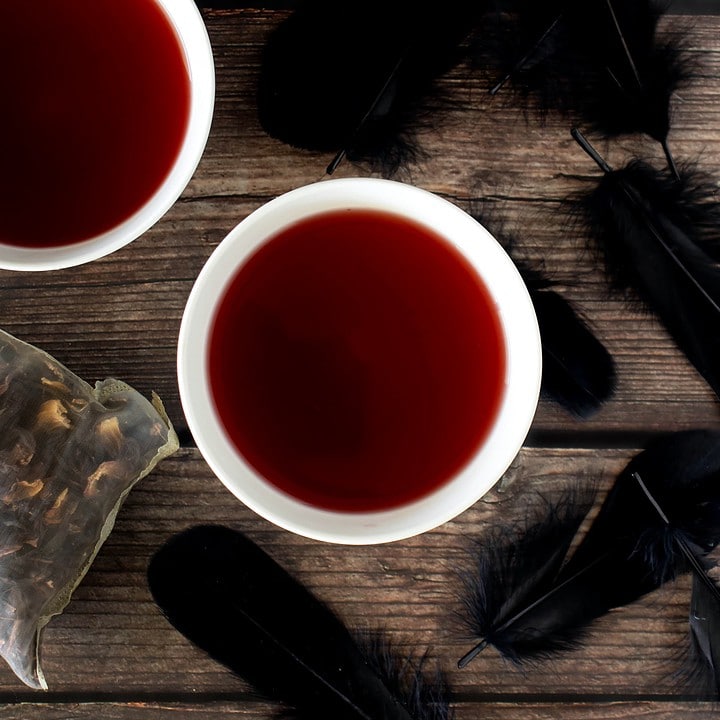
Tea for Sophie
Ingredients
Instructions
Family Breakfast
Ingredients
Instructions


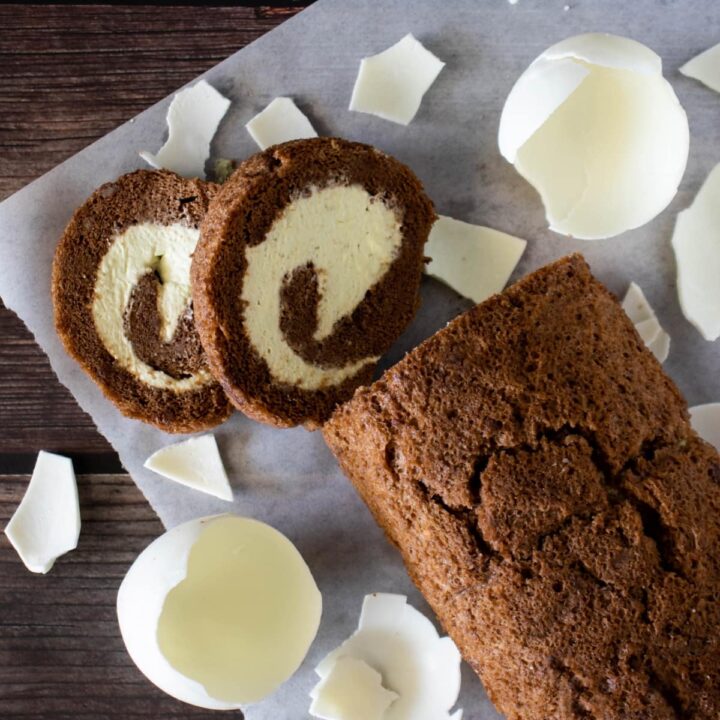
...and "Snacks" for Calcifer
Ingredients
Instructions


Epilogue
For those of you who aspire to Howl’s dexterity with eggs, here’s a little how to video. Worst case you end up with scramby instead of sunny side up– and those go great with chili oil too.

For more menus, check out my movie directory here!